Movie makes life more wonderful, especially at Halloween. You can record your own Halloween films then edit these Halloween footage in Final Cut Pro/iMovie while upload your personal Halloween production to YouTube, Vimeo, Instagram. The best part is that you won't meet any trouble in this creation with the help of Pavtube Blu-ray/DVD/Video tools.

Pavtube Studio is holding 2016 Halloween Promotion activity where you can get cheap but professional Blu-ray Ripping tools, DVD Riping tools and video converters. Then, you don't need to worry that your iMovie export can't be uploaded to YouTube or your HD camcorder/camera recordings can't be imported to NLE software. Now, let's see Pavtube 2016 Halloween Promotion in detail.
Index of Pavtube 2016 Halloween Promotional Notices
Promotional Items | Halloween Software Bundles | Software Compare
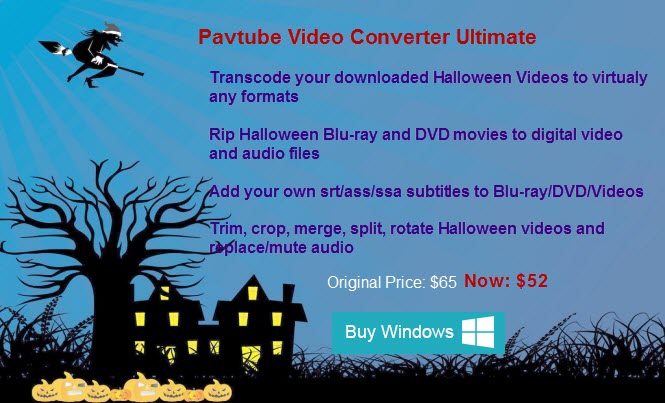
 Pavtube Promote Products in 2016 Halloween
Get The equivalent Mac version - Pavtube iMedia Converter for Mac
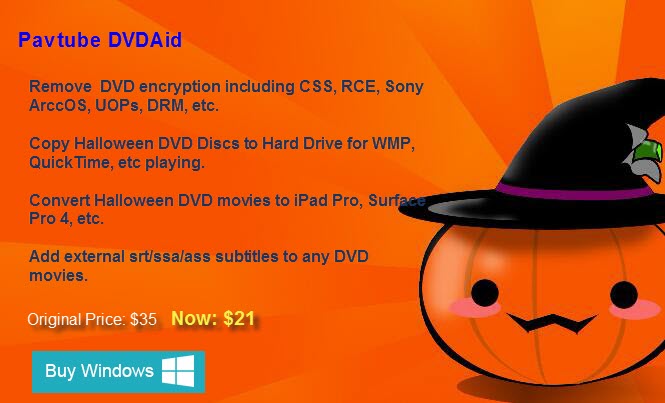
Get The equivalent Mac version - Pavtube DVDAid for Mac
 Pavtube 2016 Halloween Promotion Software Bundles
ByteCopy + Video Converter Ultimate
Original Price: $107 Now: $79.9
|
Video Converter Ultimate + ChewTune
Original Price: $94 Now: $74.9
|
|
Original Price: $71 Now: $54.9
|
Video Converter Ultimate + DVD Creator
Original Price: $100 Now: $64.9
|
|
Original Price: $84 Now: $49.9
|
Original Price: $77 Now: $44.9
|


 Compare Pavtube Halloween Special Offers
| Software Compare | Pavtube Video Converter Ultimate | Pavtube DVDAid | |
List Price |
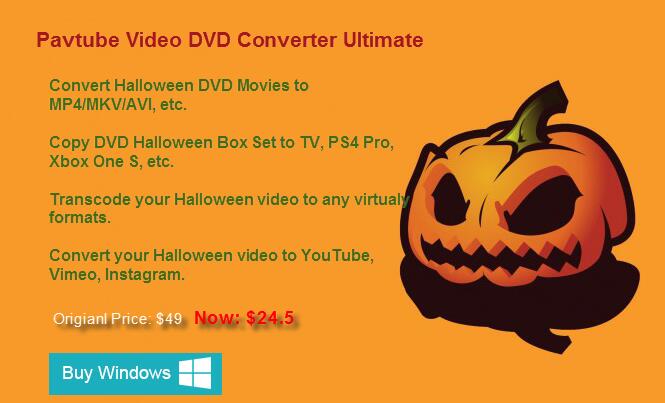
$65 | $49 | $35 |
| Discounted Cost | $52 | $24.5 | $21 |
Supported Source |
|||
| Blu-ray |  |
||
| DVD (Protected & Unprotected) | |
|
|
| MKV, AVCHD (MTS, M2TS), MOD, TOD, TS, AVI, YouTube/Facebook video, WMV, MPEG, MP4, H.264, MOV, VOB,WebM, VPX8, etc. | |
|
|
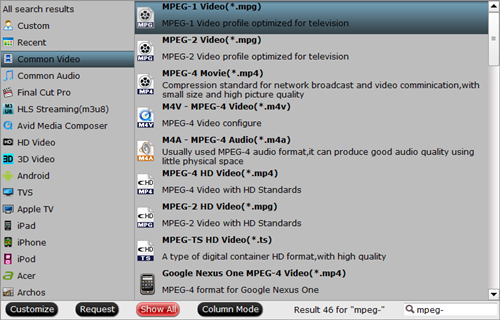
Output Formats |
|||
| MP4, H.265, H.264, MPEG, AVI, WMV, VOB, MOV, FLV, iPhone, iPad, Android, Windows Phone, Surface, PSP, etc. | |
|
|
| 3D MKV/AVI/MOV/WMV/MP4 | |
|
|
| 4K H.265 MKV/MP4 | |
|
|
| DVD folder, single MPEG2 file with lossless video quality and 5.1 Channel AC3/DTS Dolby audio. | |
|
|
| Blu-ray folder, single M2TS file with lossless video quality and 5.1/7.1 Channel AC3/DTS Dolby Digital, Thrue HD audio. | |
||
Other Functions |
|||
| Edit parameters, rotate, merge, crop, trim and split video | |
|
|
| Add SRT/ASS/SSA subtitles and remove audio from video | |
|
|
Convert 2D to 3D video |
|
|
|
Src: http://www.video-pedia.com/2016/10/26/pavtube-2016-halloween-promotion/